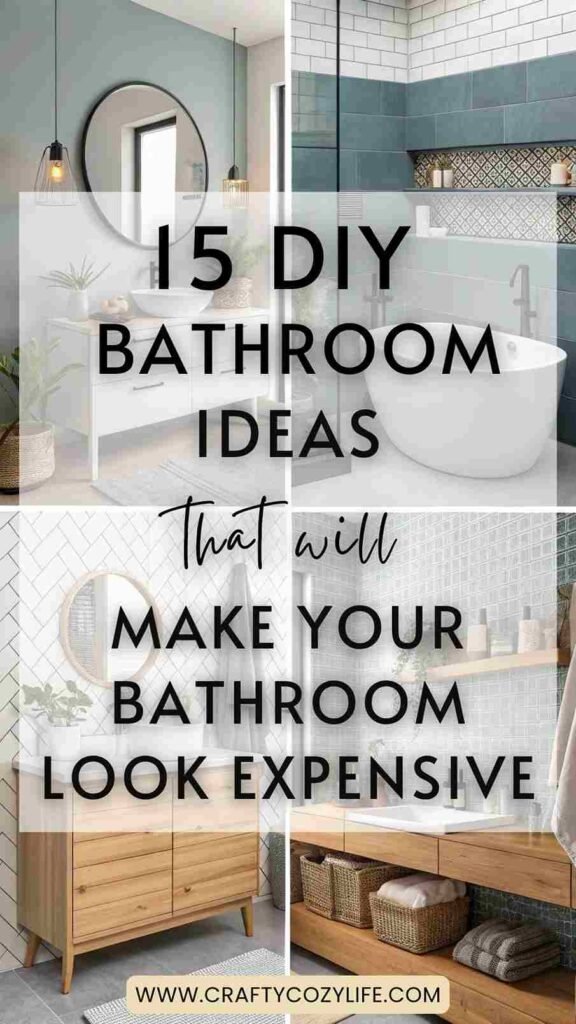
15 DIY Bathroom Ideas That’ll Make Your Space Look Expensive
Have you ever stepped into your bathroom, taken one look around, and thought, “This could be so much better”? Trust me, you’re not alone! Bathrooms are often the most overlooked spaces when it comes to design, but with a bit of creativity and some hands-on fun, you can turn yours into a spa-like oasis, a vintage charm haven, or even a quirky statement corner that screams you.
This DIY Bathroom guide is filled with the most aesthetic ideas to design your bathroom from scratch or get a quick revamp. From easy upgrades to full-on transformations, you’ll find something for every style, budget, and skill level. And hey, you don’t need to be a DIY expert—just a willingness to roll up your sleeves and make some magic.
What You Might Need:
- Paint and brushes
- Peel-and-stick tiles or wallpaper
- Storage baskets and organizers
- Adhesive hooks and shelves
- Plants (real or faux, your call!)
- Basic tools (hammer, screwdriver, etc.)
1. Revamp Your Walls with Peel-and-Stick Wallpaper
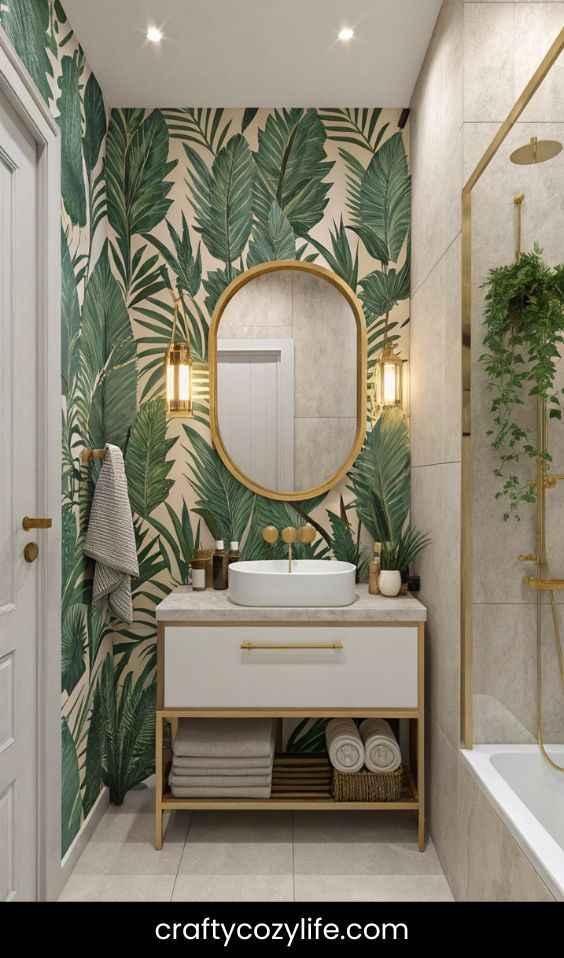
Let’s start with an easy win! Peel-and-stick wallpaper is the ultimate bathroom glow-up tool. You can find designs ranging from subtle florals to bold geometrics, and the best part? It’s renter-friendly and removable.
Step-by-Step:
- Measure your walls to know how much wallpaper you’ll need.
- Choose a design that vibes with your dream aesthetic.
- Clean your walls and ensure they’re dry and smooth.
- Peel the backing and apply the wallpaper, smoothing as you go to avoid bubbles.
Picture This:
Your bathroom walls decked out in a chic tropical print, perfectly complementing a minimalist vanity and gold-accented mirror. The vibe? A mini rainforest getaway!
2. Add Open Shelving for Style and Storage
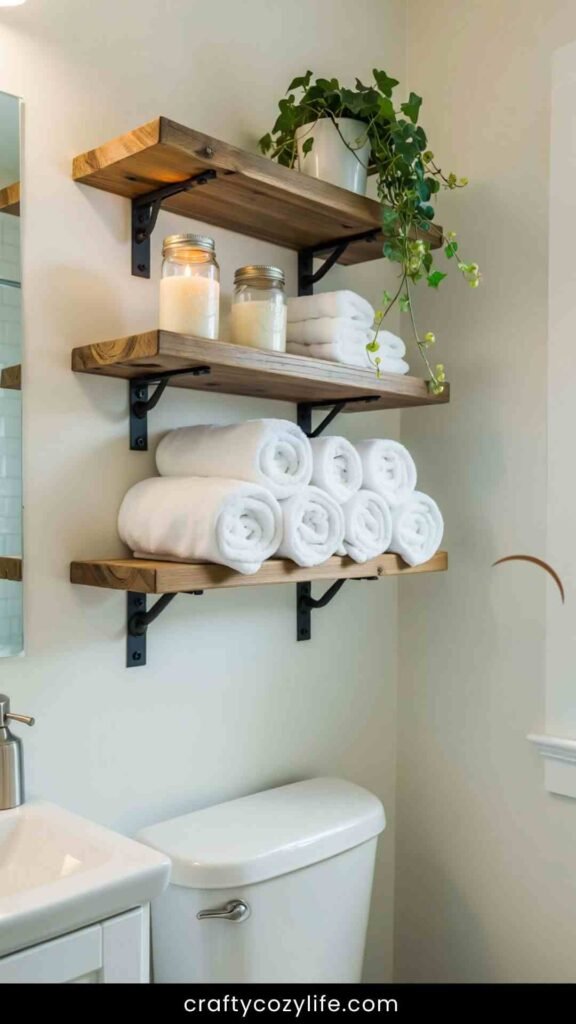
Bathrooms often lack storage, but adding open shelves is a game-changer. Think rustic wood planks, floating shelves, or even upcycled crates for a touch of eco-chic.
Step-by-Step:
- Decide on the placement of your shelves—above the toilet or next to the vanity work well.
- Use a level to ensure they’re straight before drilling brackets into the wall.
- Style with rolled towels, small potted plants, and cute containers for your essentials.
Picture This:
Neatly stacked fluffy white towels, a candle flickering in a mason jar, and a trailing ivy plant cascading from the top shelf—all arranged on weathered wood shelves. So Instagram-worthy!
3. Create a Spa Vibe with Accessories

Who doesn’t love the calming aura of a spa? Add elements like bamboo bath mats, a bath tray, and scented candles to recreate that luxurious feel at home.
Step-by-Step:
- Swap out your bath mat for a bamboo or wooden one—it’s chic and durable.
- Invest in a bath tray to hold a book, a drink, or even a mini plant.
- Use calming colors like whites, greys, and earthy tones for towels and accessories.
Picture This:
A candlelit bath, your favorite book resting on a sleek wooden tray, and a soft bamboo mat underfoot. Relaxation, incoming!
4. Personalize with DIY Artwork and Decor
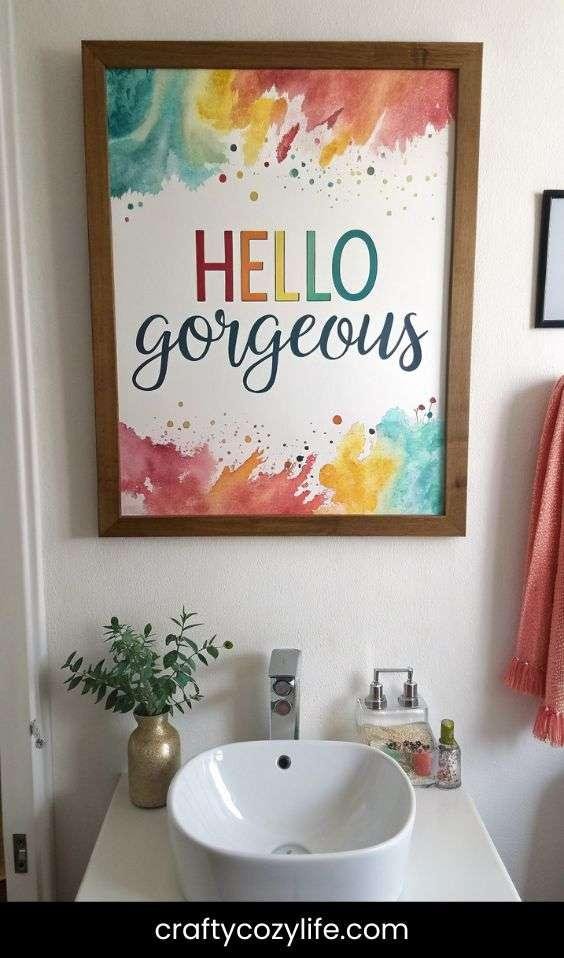
Your bathroom should reflect your personality! Frame your favorite quotes, create abstract art, or even repurpose thrifted items into unique decor pieces.
Step-by-Step:
- Pick a theme or color palette to tie your artwork together.
- Get creative—paint on canvas, design typography prints, or add decorative touches to mirrors.
- Arrange the art in a gallery wall style or place them strategically around the room.
Picture This:
A bold “Hello Gorgeous” print hanging above the sink, complemented by an abstract watercolor piece nearby. It’s all about the details!
5. Upgrade Your Lighting for Instant Glam
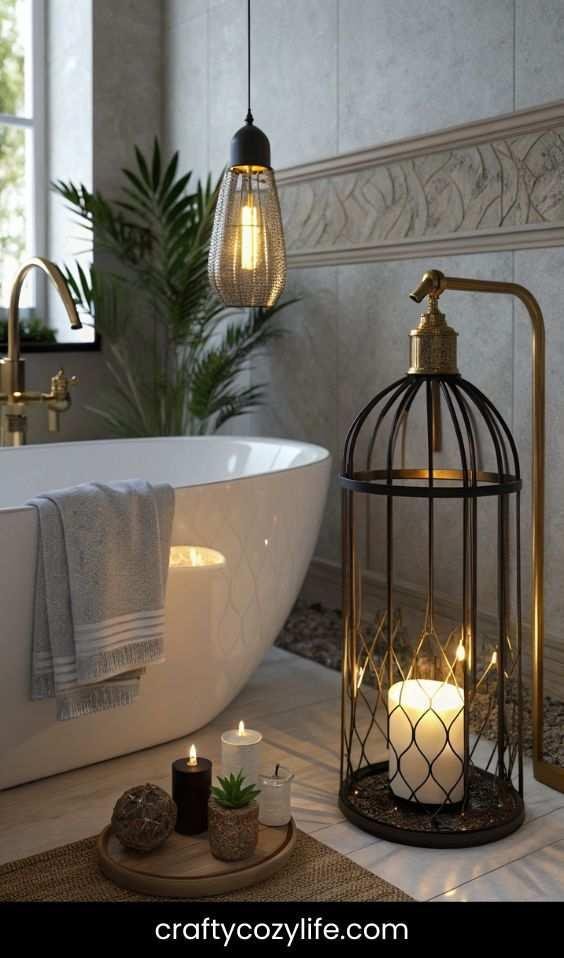
Lighting can completely change the mood of a bathroom. Consider swapping out old fixtures for modern ones or adding fairy lights for a whimsical touch.
Step-by-Step:
- Turn off the power and carefully remove your existing light fixture.
- Replace with a stylish new one (or hang battery-powered lights if rewiring isn’t your thing).
- Add dimmer switches or LED strips for ambiance.
Picture This:
A sleek black-and-gold light fixture glowing softly against the backdrop of your newly decorated bathroom, setting the perfect mood for a cozy evening soak.
6. Frame Your Bathroom Mirror
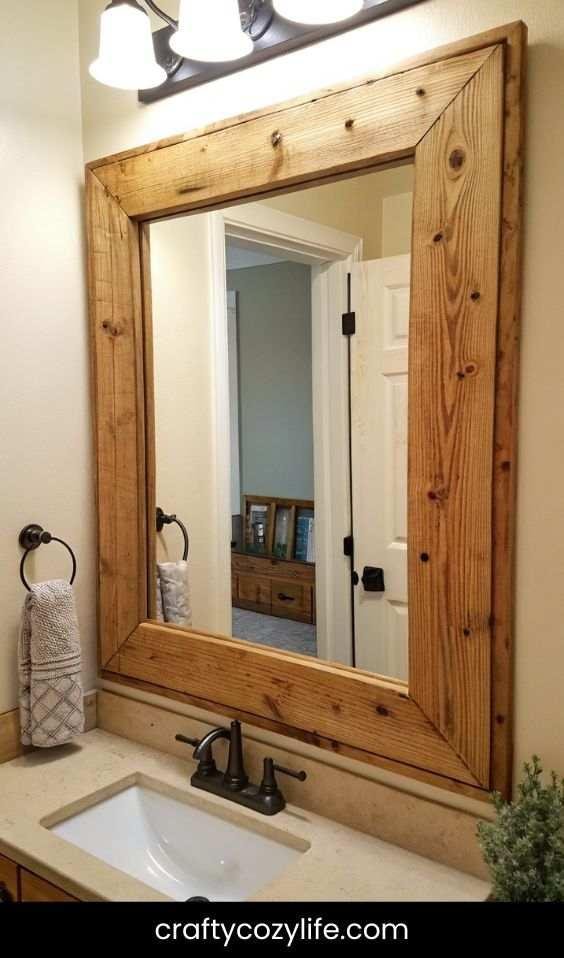
Turn a plain builder-grade mirror into a statement piece by adding a custom frame around it.
Step-by-Step:
- Measure the dimensions of your mirror and buy trim pieces or molding accordingly.
- Paint or stain the trim to match your bathroom’s style.
- Use strong adhesive to attach the trim around the edges of the mirror.
Picture This:
A rustic wooden frame hugging your bathroom mirror, making it look custom-made and picture-perfect for those morning selfies.
7. Create a DIY Shower Caddy
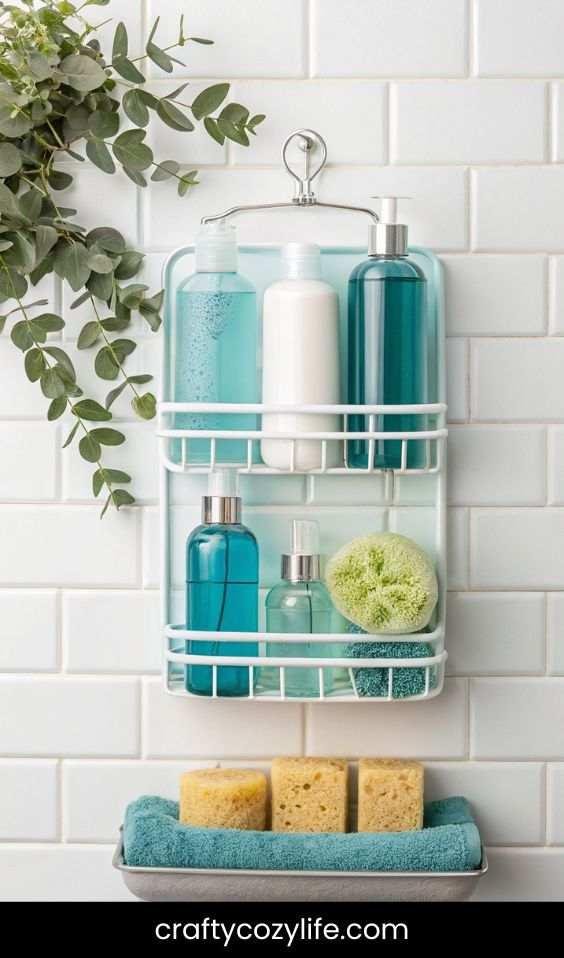
Maximize shower storage with a personalized caddy that keeps your essentials organized and easy to reach.
Step-by-Step:
- Use a wooden or metal organizer tray as the base.
- Attach suction hooks or ropes to hang it in the shower.
- Add labeled bottles for shampoo, conditioner, and body wash.
Picture This:
A neatly arranged shower caddy with color-coordinated bottles, loofahs, and a small eucalyptus bundle for a fresh vibe.
8. Upgrade Your Sink Faucet
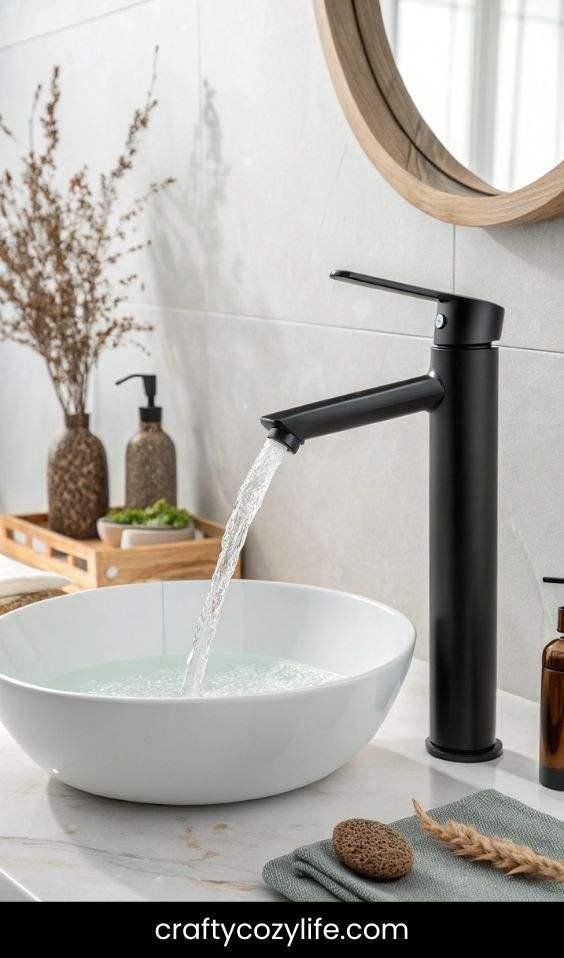
Changing out an old faucet can instantly modernize your bathroom.
Step-by-Step:
- Turn off the water supply and remove the old faucet.
- Install the new faucet following the manufacturer’s instructions.
- Tighten the connections and check for leaks before use.
Picture This:
A sleek matte black faucet pouring water into a pristine white sink—minimalist and oh-so-chic.
9. Install a Floating Vanity
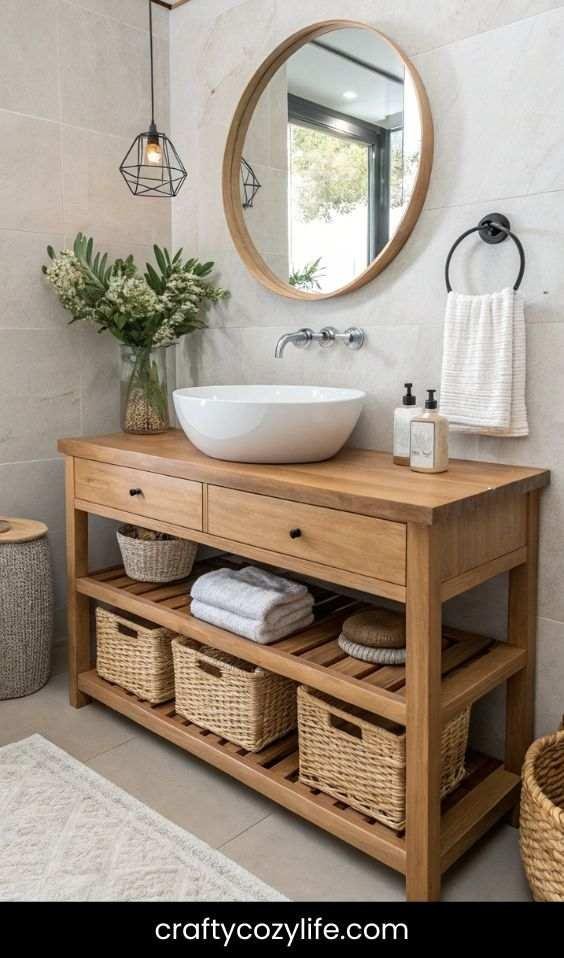
Elevate your bathroom’s style and save space by swapping out a traditional vanity for a floating one.
Step-by-Step:
- Remove your old vanity and repair the wall.
- Mount a sturdy wooden shelf or pre-made vanity unit to the wall.
- Add a vessel sink and stylish faucet on top.
Picture This:
A clean, floating wood vanity with a round vessel sink and plenty of open space underneath for stylish storage baskets.
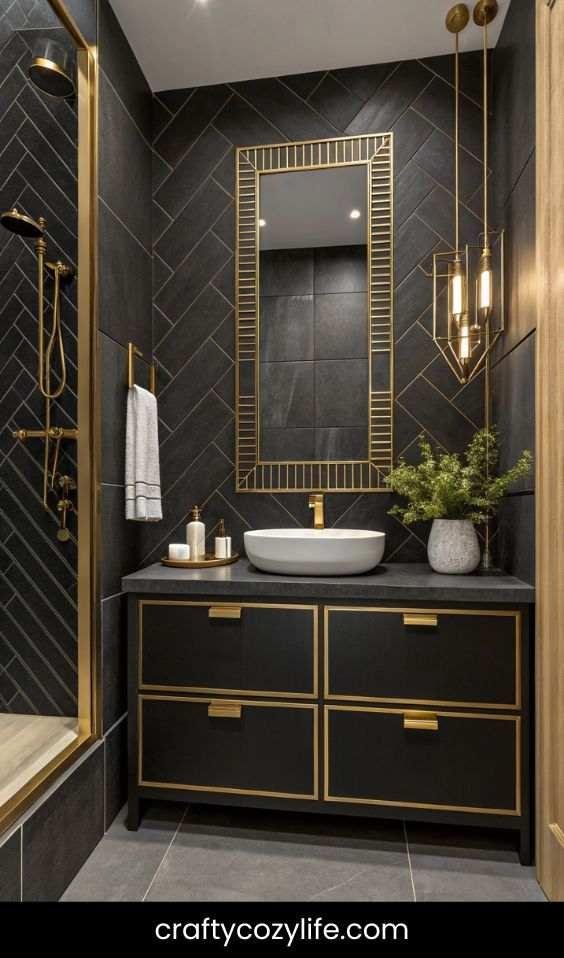
10. Add a Pop of Color with Painted Tiles
Don’t replace old tiles—paint them! Tile paint is an affordable way to refresh your bathroom without major renovations.
Step-by-Step:
- Clean and sand the tiles to prep the surface.
- Use a primer designed for tiles and let it dry.
- Paint the tiles with a waterproof tile paint in your chosen color.
Picture This:
Matte black tiles paired with gold accents, creating a bold and modern contrast in your bathroom.
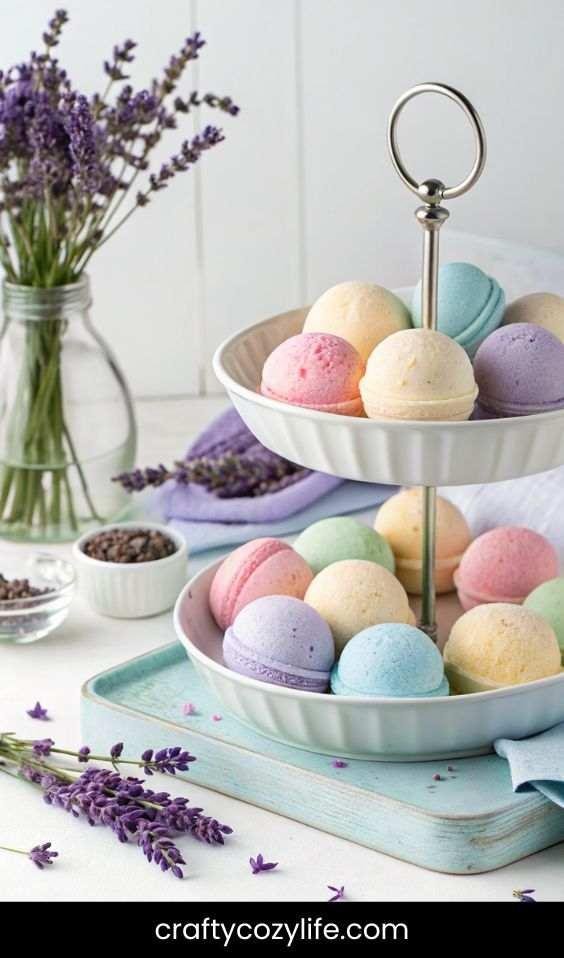
11. Make a DIY Bath Bomb Station
Create a little spa corner where you can store and display handmade bath bombs.
Step-by-Step:
- Get a tiered tray or small shelving unit.
- Decorate it with labels, jars, and dried flowers.
- Add bath bombs, salts, and mini towels for a curated look.
Picture This:
A charming tiered tray filled with colorful bath bombs and lavender sprigs, making your bathroom smell heavenly.
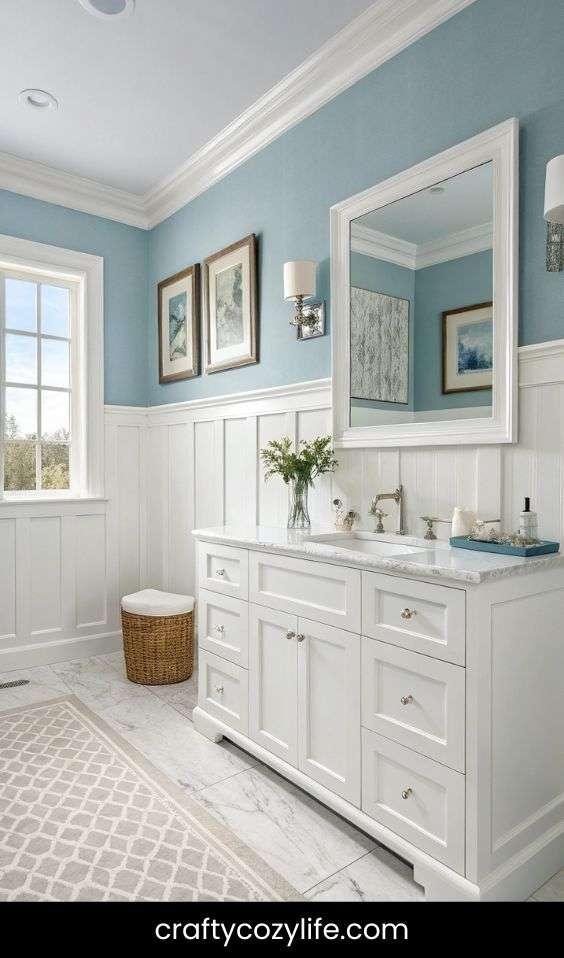
12. Install a Wainscoting Wall
Add a touch of elegance with DIY wainscoting. It’s easier than it looks and makes a big impact.
Step-by-Step:
- Measure and cut MDF or wood panels to size.
- Attach them to the lower half of the wall using adhesive or nails.
- Paint the panels in a bold or neutral shade.
Picture This:
A classic white wainscoting wall paired with pale blue paint above, giving your bathroom a timeless and airy feel.
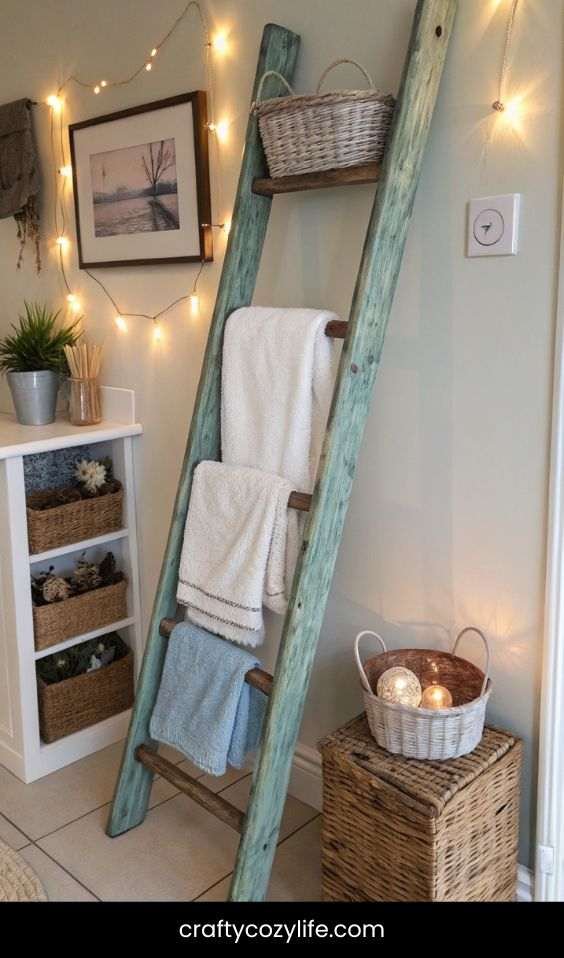
13. Repurpose a Ladder as a Towel Rack
Give old ladders a new lease on life as a stylish towel rack.
Step-by-Step:
- Sand and paint or stain the ladder to match your decor.
- Lean it against the wall securely.
- Hang towels, small baskets, or even fairy lights for added charm.
Picture This:
A rustic wooden ladder adorned with plush towels and string lights, adding warmth and function to your space.
14. Create a Gallery Wall with Bathroom Humor
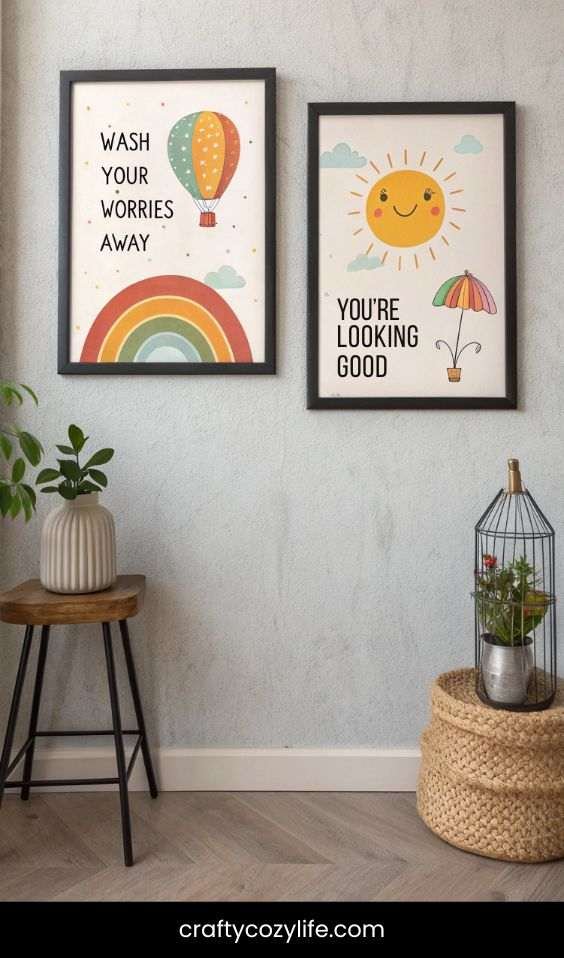
Add some personality with fun or quirky framed prints.
Step-by-Step:
- Pick out humorous bathroom-related quotes or prints.
- Frame them in matching or eclectic frames.
- Arrange them in a grid or gallery style on an empty wall.
Picture This:
A gallery wall featuring “Wash Your Worries Away” and “You’re Looking Good” prints, bringing smiles to anyone who visits.
15. Add Greenery with Hanging Planters
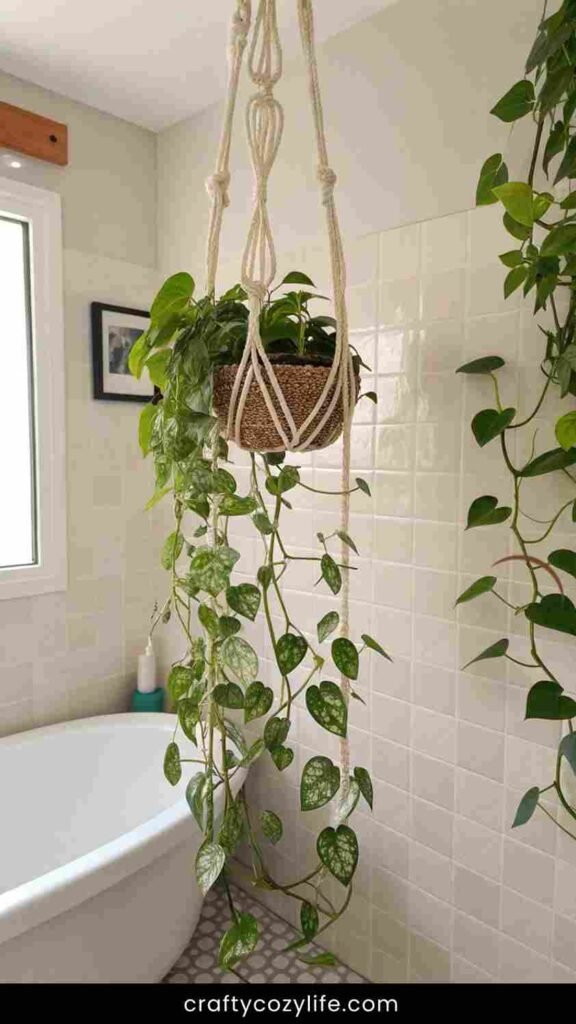
Bring in some life with plants that thrive in humid conditions.
Step-by-Step:
- Choose plants like pothos, ferns, or spider plants.
- Hang them in macrame planters from the ceiling or hooks.
- Water and care for them to keep the space feeling fresh.
Picture This:
Trailing pothos plants hanging from a macrame holder in the corner, turning your bathroom into a jungle-inspired retreat.
FAQs
1. Can I do DIY bathroom upgrades on a small budget?
Absolutely! Many DIY bathroom projects are budget-friendly. Simple changes like peel-and-stick tiles, painting walls, or adding new decor can make a huge impact without costing a fortune. Reuse and repurpose items you already have for even more savings.
2. Are DIY bathroom projects beginner-friendly?
Yes! Many DIY bathroom ideas are designed with beginners in mind. Projects like painting walls, adding open shelves, or updating hardware require minimal tools and skills. Start small and build your confidence as you go.
3. What tools do I need for most DIY bathroom projects?
Basic tools like a screwdriver, hammer, level, measuring tape, paintbrushes, and adhesive are commonly used. Depending on your project, you might also need a drill or tile cutter. Always check the tools required before starting.
4. How can I make a rental bathroom look better without permanent changes?
Focus on temporary upgrades like peel-and-stick wallpaper or tiles, adhesive hooks, freestanding storage, and adding decor like plants and framed artwork. These changes are reversible and rental-friendly.
5. What are the best materials to use in a humid bathroom environment?
Opt for moisture-resistant materials like ceramic, glass, or treated wood. Use paints and adhesives labeled as water-resistant or mold-resistant. For plants, choose humidity-loving varieties like ferns or pothos.
6. How long does a typical DIY bathroom project take?
The timeline depends on the complexity of the project. Small projects like painting or adding shelves can take a few hours, while larger ones like updating tiles or installing new fixtures may take a weekend.
7. Do I need special skills for DIY bathroom renovations?
Not necessarily. Many projects come with step-by-step instructions and online tutorials. With patience and the right tools, even beginners can achieve great results.
8. What’s the easiest way to make a bathroom look luxurious?
Add small touches like upgraded hardware (faucets, towel bars), soft lighting, plush towels, and a statement mirror. These simple changes can instantly elevate the look and feel of your bathroom.
9. Can I repaint tiles or a bathtub?
Yes, you can! Use specialized tile or tub paint for these surfaces. Be sure to clean and sand them beforehand, and follow the manufacturer’s instructions for a smooth, durable finish.
10. How can I keep my DIY bathroom upgrades looking great over time?
Regular cleaning and maintenance are key. Use mold-resistant sprays, wipe down surfaces frequently, and ensure proper ventilation to prevent moisture damage.
Closing Thoughts
Transforming your bathroom doesn’t have to break the bank or require pro-level skills. With these DIY ideas, you can elevate your space into a stylish and functional retreat that’s uniquely yours. The best part? You’ll feel a rush of pride every time you step in, knowing you made it happen.
Ready to start your bathroom makeover journey? Grab your tools, let your creativity flow, and let’s turn that bathroom into the jewel of your home. Happy DIY-ing!