Cozy & Creative DIY Wood Log Ideas: Transform Your Space Naturally
Ever feel like your space needs a little more nature, charm, and creativity? That’s where DIY wood log ideas come in. Think of this as a coffee chat with your bestie where I’m sharing the ultimate ways to use those beautiful, rustic wood logs you’ve got lying around.
Whether you’re sprucing up your garden, adding rustic vibes to your living room, or making unique gifts, this post is packed with ideas you’ll actually want to try. The best part? Most of these projects are simple, and they look way more expensive than they are. Let’s grab some logs and get crafting!

What You Might Need:
- Wood logs (various sizes)
- Sandpaper
- Paint or wood stain
- Drill with bits
- Nails, screws, or wood glue
- Decorative items (rope, moss, candles, etc.)
- A little creativity and patience
1. Rustic Wood Log Candle Holders

Imagine your dining table lit by soft, flickering candlelight nestled in rustic wooden holders. Sounds dreamy, right? Here’s how to make it happen.
Step-by-Step:
- Pick a wood log that’s about 4–6 inches in diameter.
- Sand the surface to smooth out any rough patches.
- Use a drill with a hole saw bit to carve out spaces for tealights or pillar candles.
- Stain or paint the log to match your décor.
- Pop in the candles, and voilà—your new favorite centerpiece!
Picture This:
Your cozy living room with a rustic vibe—soft candlelight glowing in a set of handmade wood log holders. Each one has its own unique grain, giving your space warmth and personality.
2. DIY Wood Log Planters

Want to add a whimsical touch to your garden or patio? Turn wood logs into planters for succulents, herbs, or flowers.
Step-by-Step:
- Grab a log that’s at least 10 inches long.
- Hollow out the center using a drill and chisel (leave about an inch of thickness on the sides).
- Drill small drainage holes in the bottom.
- Line the hollow with a plastic sheet to protect the wood.
- Fill with soil and plant your greenery.
Picture This:
A garden corner bursting with charm—tiny succulents peeking out of rustic wood log planters, each one telling a story of creativity and love for nature.
3. Wood Log Side Table

Add a touch of nature to your living space with a DIY wood log side table that’s both functional and stylish.
Step-by-Step:
- Find a sturdy log with a flat bottom (or saw it flat yourself).
- Sand the surface until smooth and even.
- Stain or seal the wood to preserve its natural beauty.
- Attach hairpin legs or leave it freestanding for a minimalist vibe.
- Place it next to your couch or bed as a statement piece.
Picture This:
Your favorite book and a cup of tea resting on a rustic side table, the natural wood grain creating a cozy focal point in your room.
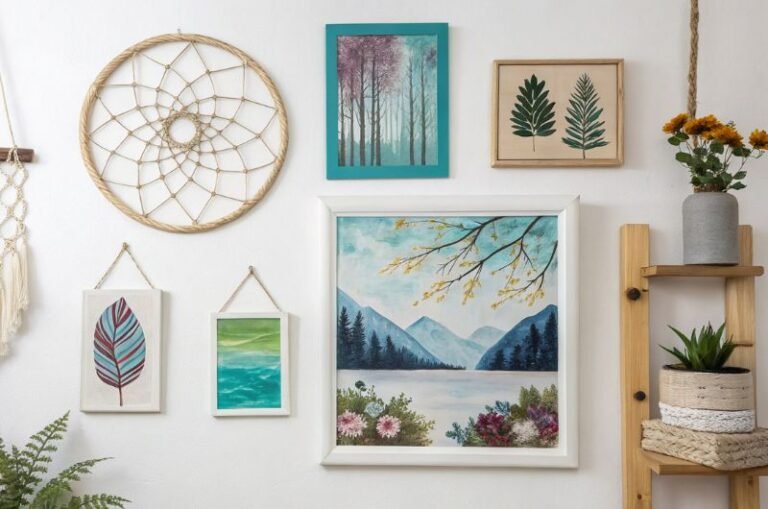
4. Wood Log Wall Art

Transform your blank wall into a gallery of nature-inspired art with wood log slices.
Step-by-Step:
- Slice thin rounds from logs of various sizes (about 1 inch thick).
- Sand the edges and surfaces smooth.
- Arrange the slices in a pattern or design on a piece of plywood.
- Glue or nail the slices onto the plywood.
- Hang your masterpiece on the wall for a striking, rustic look.
Picture This:
A stunning feature wall filled with circular wood slices, each one like a little fingerprint of nature, giving your room texture and warmth.
5. DIY Wood Log Coat Rack

Need a place to hang your hats, scarves, or coats? A DIY wood log coat rack combines practicality with rustic charm.
Step-by-Step:
- Find a sturdy log about 3–4 feet long.
- Sand and stain the log for a polished look.
- Attach hooks or pegs along the length of the log.
- Mount it on the wall or attach it to a base for a freestanding option.
- Hang your coats and enjoy the compliments from visitors.
Picture This:
A cozy entryway where your DIY wood log coat rack steals the show—every visitor asking, “Where did you get that?”
6. Wood Log Photo Frames

Turn small log slices into rustic photo frames that showcase your favorite memories in a natural way.
Step-by-Step:
- Slice small, thin rounds from a log (about ½ inch thick).
- Sand the edges for a smooth finish.
- Cut out the center of the slices, leaving a border to frame your photo.
- Attach a small stand or magnet to the back.
- Insert your photo and display it proudly.
Picture This:
A shelf filled with rustic wood log photo frames, each capturing a memory in the most charming way possible.
7. Wood Log Serving Tray

Serve your snacks or drinks with a tray that screams rustic elegance.
Step-by-Step:
- Slice a large, flat piece from a wide log.
- Sand the surface smooth.
- Attach metal or rope handles on each side.
- Stain and seal the wood to make it food-safe.
- Use it as a serving tray or a decorative centerpiece.
Picture This:
A cozy brunch spread served on a handcrafted wood log tray — coffee, croissants, and compliments galore.
8. Wood Log Shelves

Add some nature-inspired storage to your walls with floating wood log shelves.
Step-by-Step:
- Cut a sturdy log into equal-sized sections.
- Sand the surfaces for a polished finish.
- Attach heavy-duty wall brackets to the logs.
- Secure them to the wall and decorate with books, plants, or knick-knacks.
Picture This:
A living room wall lined with wood log shelves holding plants, books, and candles—your little corner of Pinterest come to life.
9. Wood Log Birdhouses

Invite some feathered friends into your yard with charming, rustic birdhouses.
Step-by-Step:
- Hollow out a medium-sized log to create a space for the birds.
- Drill a small entry hole and add a perch below it.
- Sand the exterior and seal it for outdoor durability.
- Hang or mount the birdhouse in your garden.
- Wait for your new tenants to arrive!
Picture This:
A garden alive with chirping birds, their adorable rustic log birdhouse blending perfectly into the natural surroundings.
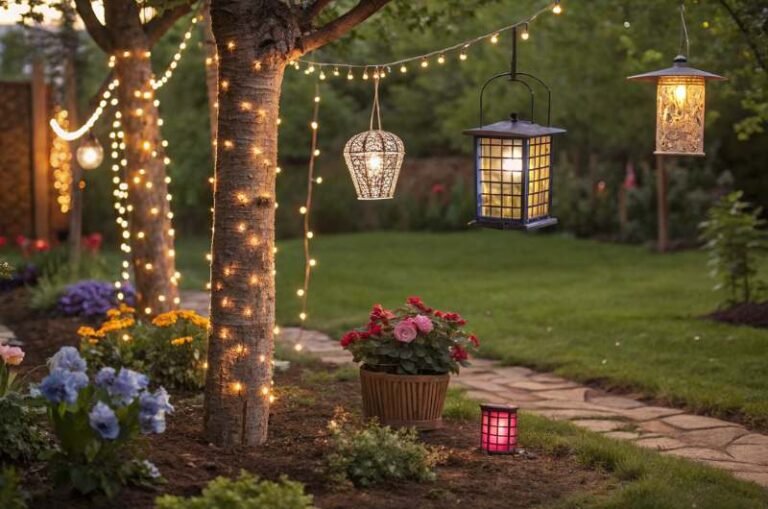
10. Wood Log Candle Lanterns

Create a magical ambiance for outdoor evenings with lanterns made from logs.
Step-by-Step:
- Select tall, narrow logs and hollow out the center.
- Drill decorative patterns or cutouts around the sides.
- Insert a glass jar with a candle inside the hollowed-out log.
- Light it up and enjoy the glow.
Picture This:
A patio lit by flickering candles in unique wood log lanterns—cozy, romantic, and straight out of a Pinterest board.
11. Wood Log Christmas Decorations

Deck the halls with natural ornaments made from wood logs.
Step-by-Step:
- Slice small, thin rounds from a log.
- Paint or stencil holiday designs (like snowflakes or trees) on the slices.
- Drill a small hole at the top and add a ribbon for hanging.
- Use them as ornaments, gift tags, or table accents.
Picture This:
A Christmas tree adorned with handmade wood log ornaments, each one a rustic celebration of the season.
12. Wood Log Bench

Turn a large log into a functional and stylish bench for your entryway or garden.
Step-by-Step:
- Find a sturdy log that’s about 4–6 feet long.
- Sand the surface smooth and add a sealant.
- Attach metal or wooden legs for support.
- Place it in your desired spot and decorate with cushions or throws.
Picture This:
A cozy garden bench made from a wood log, perfect for sitting and enjoying a peaceful afternoon outdoors.
13. Wood Log Pencil Holders

Keep your desk organized with rustic pencil holders.
Step-by-Step:
- Select small logs, about 4–6 inches tall.
- Drill multiple small holes on the top.
- Sand the exterior and apply a finish.
- Fill the holes with pens, pencils, or paintbrushes.
Picture This:
Your desk looking Pinterest-perfect with charming wood log pencil holders adding warmth and creativity to your workspace.
14. Wood Log Cheese Board

Host your next party in style with a rustic cheese board.
Step-by-Step:
- Slice a wide, flat piece from a log.
- Sand the surface smooth and seal it with food-safe oil.
- Arrange your favorite cheeses, crackers, and fruits.
- Impress your guests with your DIY skills.
Picture This:
A rustic cheese board filled with goodies, your guests snapping photos before even taking a bite.
15. Wood Log Key Holder

Keep your keys in one place with a rustic key holder.
Step-by-Step:
- Use a small, flat log slice or a section of a log.
- Attach hooks or small nails along the bottom edge.
- Add a backing or mount it directly to the wall.
- Hang your keys and never lose them again!
Picture This:
An entryway that feels organized and inviting, thanks to a DIY wood log key holder that’s as cute as it is practical.
16. Wood Log Tea Light Pathway

Line your garden path with enchanting tea lights nestled in wood logs.
Step-by-Step:
- Cut several small logs about 4–6 inches tall.
- Drill a shallow hole in the top for tea lights.
- Sand and seal the logs for outdoor use.
- Place them along your pathway and light them up.
Picture This:
A garden pathway glowing softly with tea lights set in rustic wood log holders—a magical vibe for outdoor gatherings.
FAQs
1. Where can I find wood logs for DIY projects?
You can find wood logs at local lumberyards, home improvement stores, or even your backyard if you’ve got trees. If you’re looking for something specific, check out garden centers or online marketplaces for pre-cut logs.
2. How do I prepare wood logs for crafting?
- Start by removing any bark, if desired.
- Sand the surface to smooth out rough edges.
- Dry the logs completely to prevent cracking or mold (this can take a few weeks).
- Seal the wood with a protective finish, depending on the project.
3. What tools are essential for working with wood logs?
You’ll need a saw, sandpaper, a drill with various bits, wood glue, and a protective sealant. Depending on the project, you might also use paint, stain, or decorative add-ons like rope or hooks.
4. Can I use green (freshly cut) wood logs?
Green wood can crack or warp as it dries, so it’s better to use seasoned or kiln-dried wood for most projects. If you must use green wood, choose projects that embrace imperfections, like rustic décor.
5. Are DIY wood log projects beginner-friendly?
Absolutely! Many projects, like candle holders or photo frames, are simple and perfect for beginners. Start small, and as you gain confidence, move on to more complex ideas like furniture or wall art.
6. How do I make my DIY wood log crafts last longer?
- Use a wood sealant or varnish to protect against moisture.
- Avoid placing wooden crafts in direct sunlight or damp areas.
- Regularly clean and maintain your pieces to keep them looking fresh.
7. Can I paint or stain wood logs?
Yes! Painting or staining can add color and personality to your projects. Just make sure the wood is clean, dry, and sanded before applying paint or stain.
8. Are wood log crafts safe for outdoor use?
Yes, but they’ll need extra protection. Use outdoor-grade sealants or finishes to shield the wood from rain, sun, and temperature changes.
9. How can I make wood logs easier to cut or shape?
Use a sharp saw or power tools designed for woodworking. If the wood is hard to work with, try softening it by soaking it in water for a few hours before cutting.
10. What’s the best way to display my wood log creations?
Think about the theme of your space! For rustic vibes, pair wood logs with greenery, cozy textiles, or vintage accents. You can use them as centerpieces, wall décor, or functional furniture to create a cohesive look.
Closing Thoughts
The beauty of DIY wood log ideas is their versatility and natural appeal. Whether you’re crafting a candle holder, a planter, or a piece of furniture, each project adds a touch of nature to your space. So, grab those logs, fire up your imagination, and start creating!