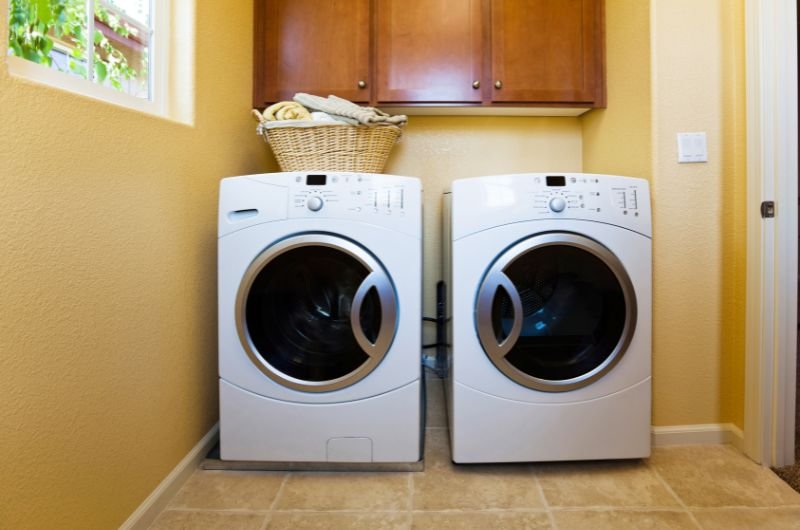
How to Paint a Washer and Dryer
If your washer and dryer still work but show signs of wear—scratches, rust, or a faded exterior—it might be time for an upgrade without a hefty price tag. Paint is a savvy way to refresh your appliances and extend their life. Let’s dive into a DIY project that’s both practical and surprisingly fun.
What You’ll Need:
Before we begin, let’s round up all your painting supplies. Being prepared makes this process go much smoother and helps avoid last-minute store runs.
- Appliance spray paint (Rust-Oleum or similar) or epoxy appliance paint
- Optional touch-up paint for small chips or details
- Light sandpaper (150–220 grit)
- Cleaning supplies: degreaser, microfiber cloths, Q-tips, paper towels
- Painter’s tape and plastic sheeting or drop cloths
- Protective gear: face mask, gloves, and safety goggles
- Screwdriver (if removing panels, knobs, or doors)
- Mini paint roller or foam brush (if using brush-on epoxy paint)
- A large piece of cardboard or foam board to test paint spray
1. Prep Your Laundry Space
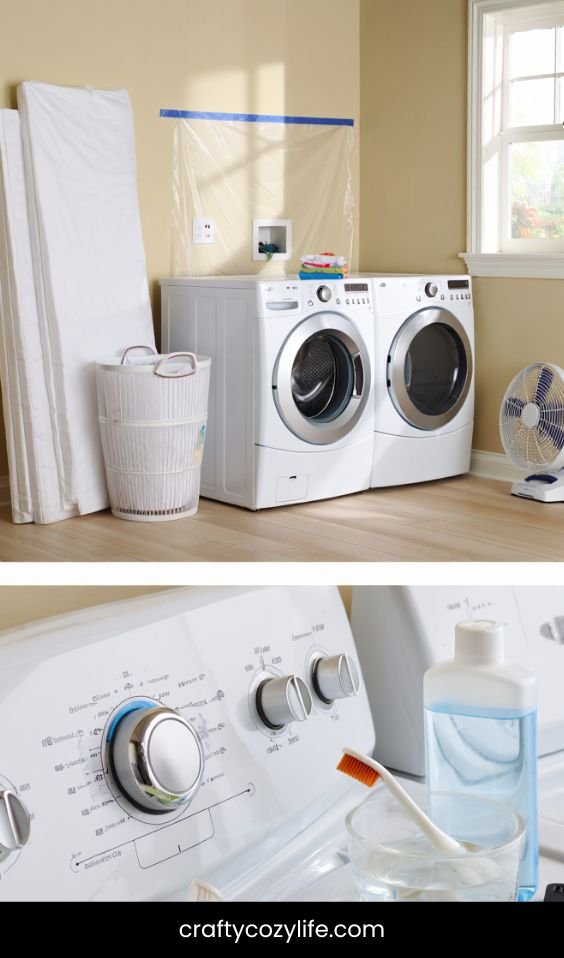
Proper prep is key to a professional-looking finish. This step helps your paint adhere better and ensures your makeover lasts longer.
- Clear the area: Move laundry baskets, hampers, shelves, and anything nearby. Give yourself room to work.
- Protect floors and walls: Lay down drop cloths or old sheets to avoid overspray. Tape plastic sheets to nearby walls.
- Ventilation is important: Open windows or use fans to improve airflow. If possible, work in a garage or outdoor space.
- Unplug appliances: Always unplug both washer and dryer before starting to avoid any risk of electrical shock.
- Remove knobs and panels (optional): If you’re confident, unscrew any removable parts. This makes painting edges and details easier.
- Wipe everything down: Use a degreasing cleaner to remove years of lint, detergent, and dust. Microfiber cloths work best for this.
- Get into the details: Use Q-tips and old toothbrushes to clean tricky crevices or corners.
- Let dry completely: Make sure there is zero moisture before sanding or taping.
2. Mask & Tape
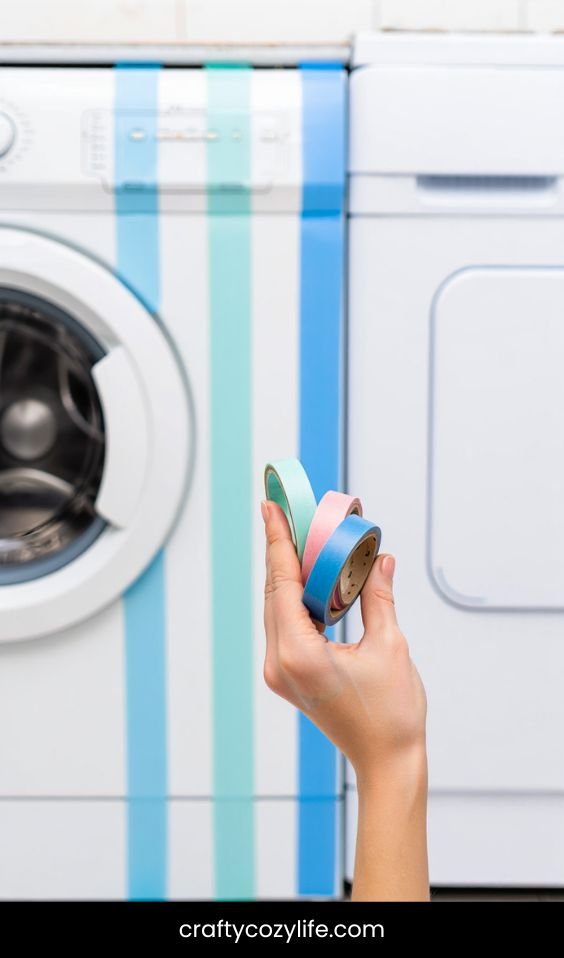
This part is all about protecting the pieces you don’t want painted and creating clean, crisp edges.
- Tape all control panels and logos: Cover displays, knobs, brand badges, and trim with painter’s tape.
- Seal edges and seams: Carefully tape any seams between doors and frames so paint doesn’t sneak into unwanted areas.
- Cover the floor and nearby objects: Overspray can travel! Tape plastic or old newspapers over any surrounding surfaces.
- Use plastic bags for hoses or wires: Cover the water hoses or power cords so they stay clean and untouched.
Pro Tip: The more detailed your masking job, the more polished your final result will look.
3. Lightly Sand the Surface
You don’t need to sand the appliances down to the metal, but a light sanding will help your paint stick better.
- Use 150–220 grit sandpaper: Gently sand the entire surface, especially areas with glossy finishes or small rust spots.
- Focus on high-use areas: Around the door, lid, and corners usually see more wear—give these extra attention.
- Wipe clean after sanding: Use a slightly damp cloth or tack cloth to remove any sanding dust.
- Let dry fully before painting: Any moisture left behind can cause bubbling.
If you spot any dents or deep scratches, you can use a bit of metal filler and sand it smooth for an even base.
4. Spray-Paint the Surface
Now for the fun part! Painting is where the magic happens, but technique matters if you want that sleek, factory finish.
- Shake your spray can well: At least one full minute to mix the paint evenly.
- Test your spray: Spray a few passes on a piece of cardboard to get the feel and avoid unexpected drips.
- Spray in light, even passes: Hold the can 12–16 inches away and move side to side, slightly overlapping each stroke.
- Start with a light tack coat: The first coat should be very light—just enough to give the next coat something to grip.
- Wait 20–30 minutes between coats: Apply 2–3 thin coats for a professional look. Avoid going too thick or rushing.
- Check for drips: If a drip forms, dab it lightly with a paper towel and re-spray.
- Final coat: Let your last coat sit for at least an hour before handling.
Alternative: If you’re using brush-on appliance epoxy paint, apply in thin, even strokes with a foam roller for a super smooth look. Let dry fully between coats.
5. Optional Touch-Ups
Once everything’s dry, touch-ups are your best friend for making things look flawless.
- Inspect corners and edges: These often need a little more attention. Use a detail brush or sponge.
- Touch up chips and missed spots: Appliance touch-up paint works great here. Dab lightly and blend.
- Don’t forget handles and hinges: Use a small brush to neaten any areas that were hard to reach with spray.
6. Let It Cure
This is one of the most overlooked steps, but patience here pays off.
- Wait 24–48 hours before use: Even if the surface feels dry, the paint needs time to fully harden.
- Avoid touching or cleaning: Don’t wash or wipe the appliances during this time.
- Keep the room ventilated: Helps with curing and airing out that new-paint smell.
- Don’t stack anything on top: Let the finish settle without weight or pressure.
7. Reassemble and Reveal
You made it! Now it’s time to remove the tape, plug everything back in, and admire your work.
- Remove tape slowly: Pull at a 45-degree angle to prevent peeling paint.
- Reattach knobs and hardware: Use your screwdriver to put everything back in place.
- Plug in and test: Make sure everything works, and double-check that you didn’t accidentally block any vents.
- Clean the space: Fold up the drop cloths and wipe any overspray you missed.
Why Painting Your Washer & Dryer Works
Painting your washer and dryer is about more than just looks.
- Budget-friendly refresh: A couple of cans of paint cost less than $30–$40 total—a far cry from a new set.
- Eco-conscious: Reviving older appliances keeps them out of landfills and reduces manufacturing demand.
- Satisfying DIY payoff: There’s something so rewarding about seeing a transformation you did with your own two hands.
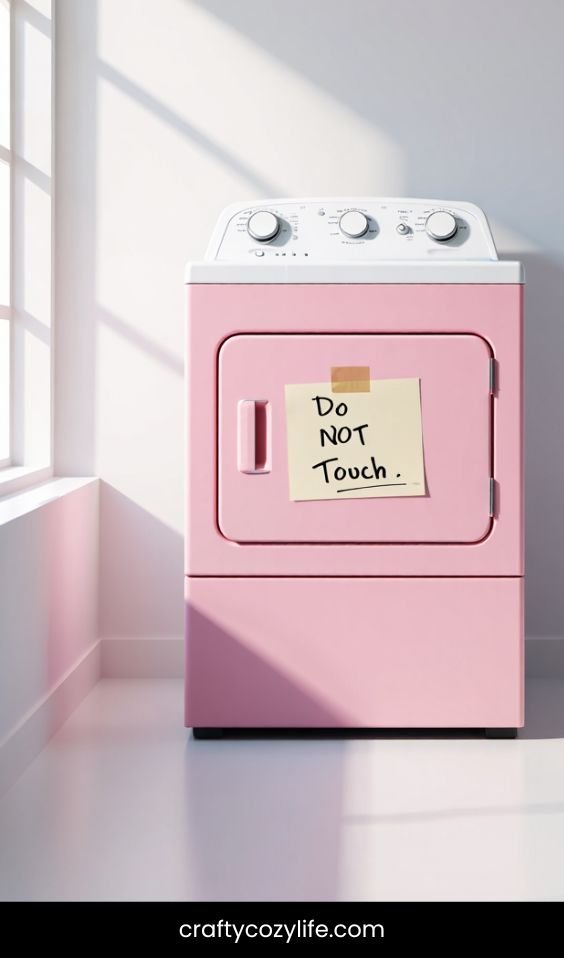
- Custom style: Match your appliances to your decor, or go bold with black, navy, or even mint green.
Pro Tips for a Flawless Finish
- Don’t rush: Each coat needs time to dry. Set aside a full weekend if needed.
- Avoid painting in humidity: It can cause bubbling or slow down curing.
- Invest in quality paint: Cheap paint might chip or discolor. Appliance-specific paint is worth it.
- Use gloves when handling paint cans: Keeps your hands clean and helps you control grip.
- Store leftover paint: You might need a future touch-up or want to paint other appliances.
- Practice your spray motion: The smoother your motion, the more even your finish will be.
Conclusion
Who knew a little paint could make such a big difference, right? Whether your washer and dryer were covered in dings, starting to rust, or just stuck in that “blah” beige phase, now they’ve got a whole new lease on life—and so does your laundry space.
DIY projects like this aren’t just about saving money (though yes, we love a budget win). They’re about creating a space that feels good, that reflects you, and that makes even the most mundane chores a little more enjoyable. Because let’s be honest—folding towels next to a freshly painted appliance just hits different.
So if you’ve been staring at your washer and dryer thinking, “ugh, these need help,” this is your sign. Grab that paint, block off a weekend, and make it happen. Your laundry room glow-up is waiting, and it starts with just one coat.